Instant Card web portal setup user guide
Set up web portal
User registration: Provisioner/Approver/Card Company Administrator
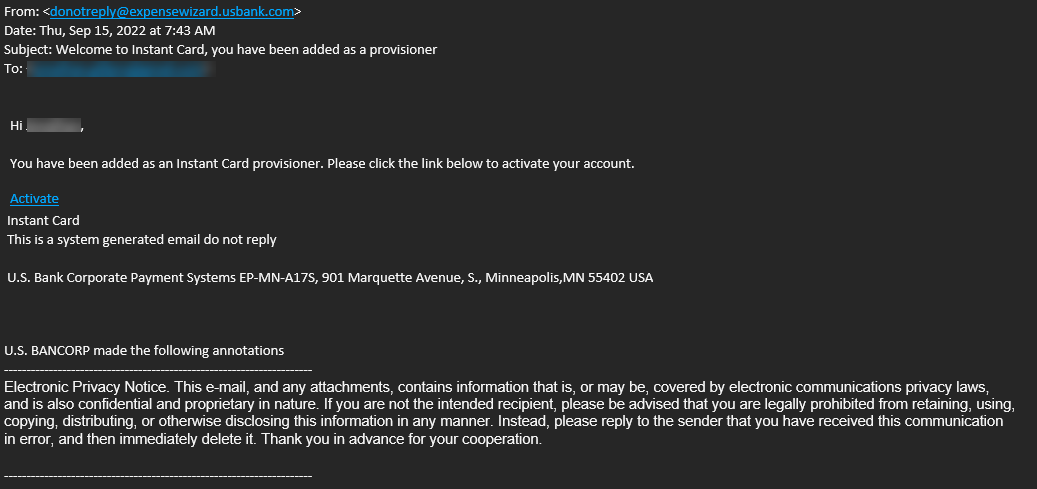
Step 1: Email link
When a user is registered, they immediately receive an email telling them they are registered. The email message has a link to activate their account. This link directs to the following URL: https://expensewizard.usbank.com/register
Step 2: Email address and request OTP
As soon as the user clicks the link in the email, the system prompts them to enter their email. They should use the same email address that their provisioner specified when they created the card.
Even if the user is not in our database, they can still move forward to the terms and conditions screen. This option is allowed for application security purposes. So, if the user claims the registration process is not working, check the Administrator portal to see if they exist in our system.
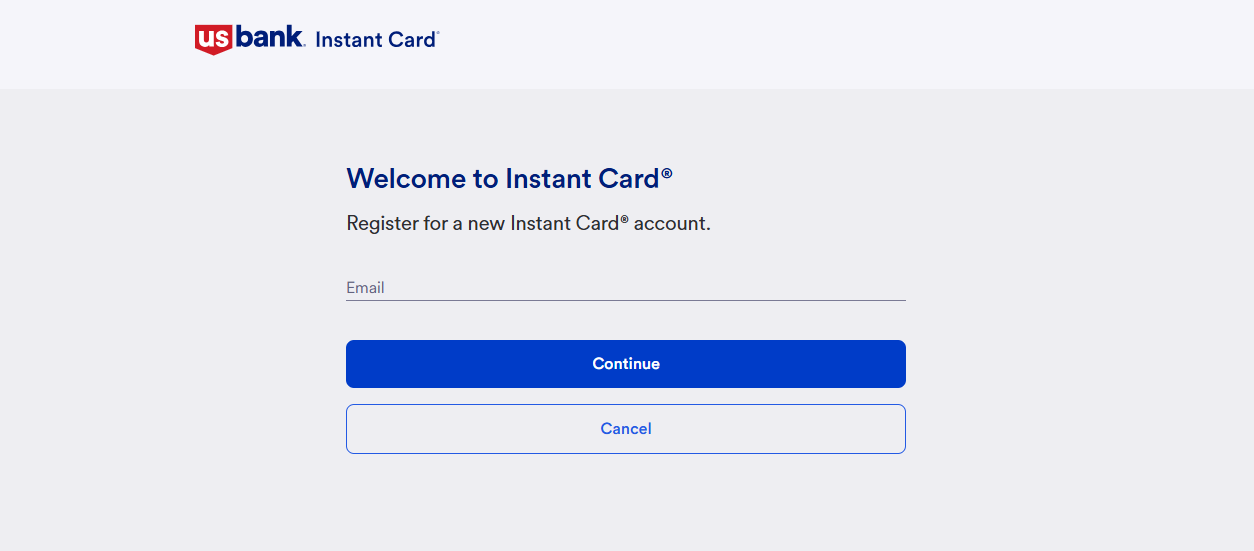
After the user clicks the Send OTP button, the system sends an email containing an OTP to the email address they specified.
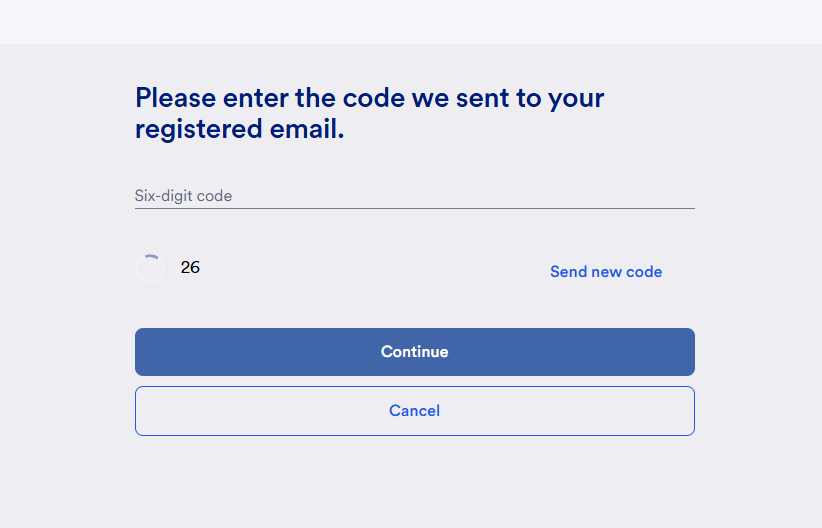
Step 3: OTP entry
The user enters the OTP and then clicks the Verify button.
Codes are valid for 15 Minutes after they have been sent. The 30 Second timer is countdown until you can click on “Send new code” for a new OTP.
Step 4: Password creation
The final step of the registration flow is to create a password.
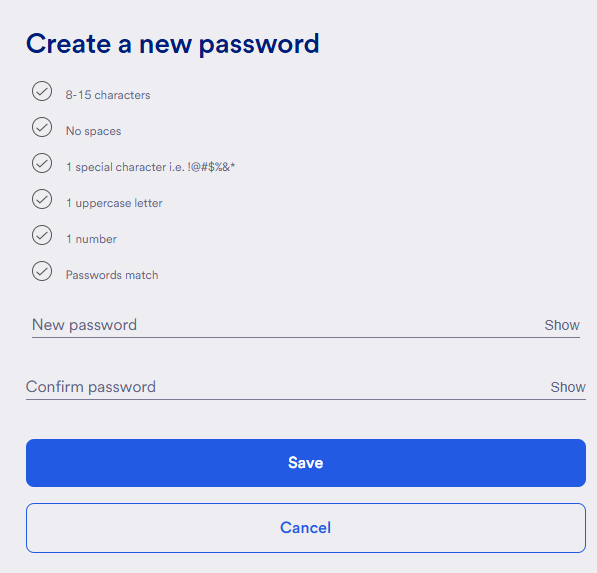
After the card user creates their password, the app directs them to the login screen to open the app.
Password requirements
The password must be at least 8 characters containing at least:
8-15 characters
1 special character, must be one of the following:!@#$%&*
1 capital letter
1 number