Provisioner Tasks User Guide
Learn how to create single cards in the webportal and the mobile app, how to edit existing cards, create bulk card requests, work with cardholder requests and more!
Create bulk cards
Bulk card creation
Sometimes you have a LOT of cards! If so, you can use the bulk upload template.
Step 1: Download the template
In order to utilize the bulk process, a user must first download the template from the upload page.
NOTE: with the new website you will NEED to download a new template, it is different from previous versions.
- Expand Create card menu
- Select Bulk Cards option
Or
- Select Create bulk cards button under your My Provisioner Items.
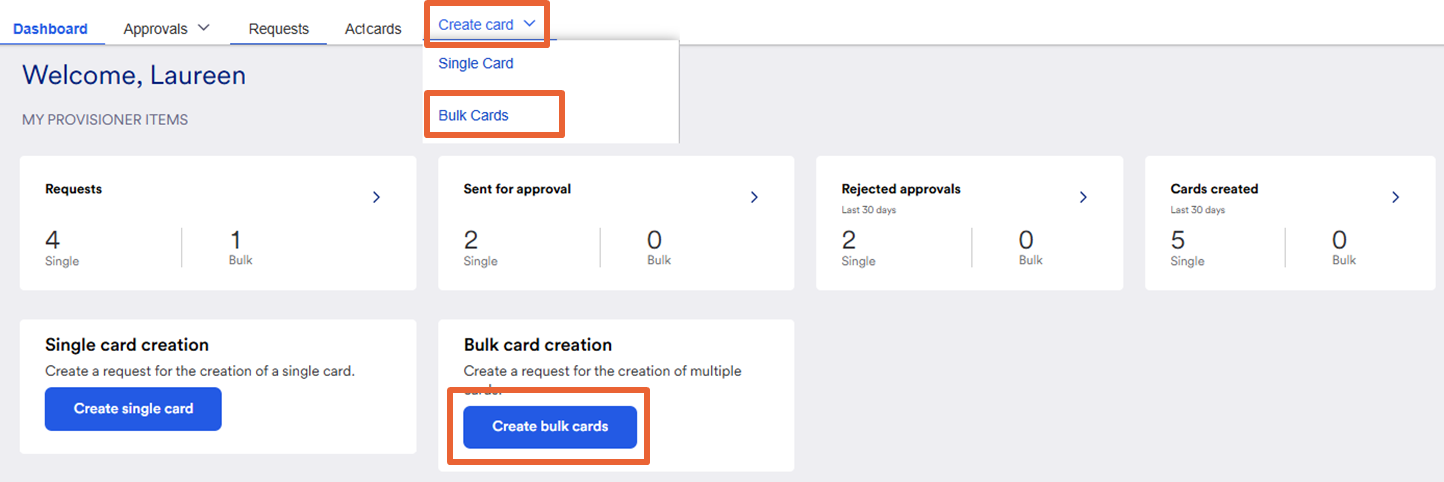
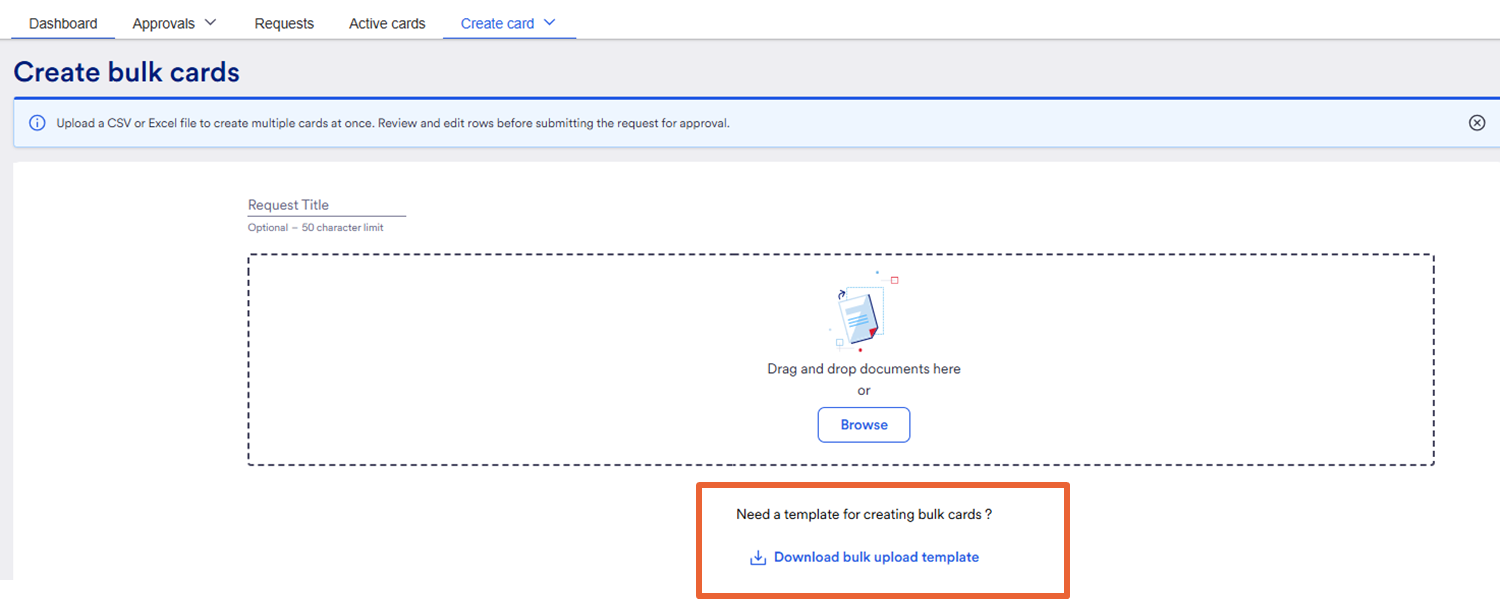
The upload area appears.
- Click the link to download a copy of the bulk upload template
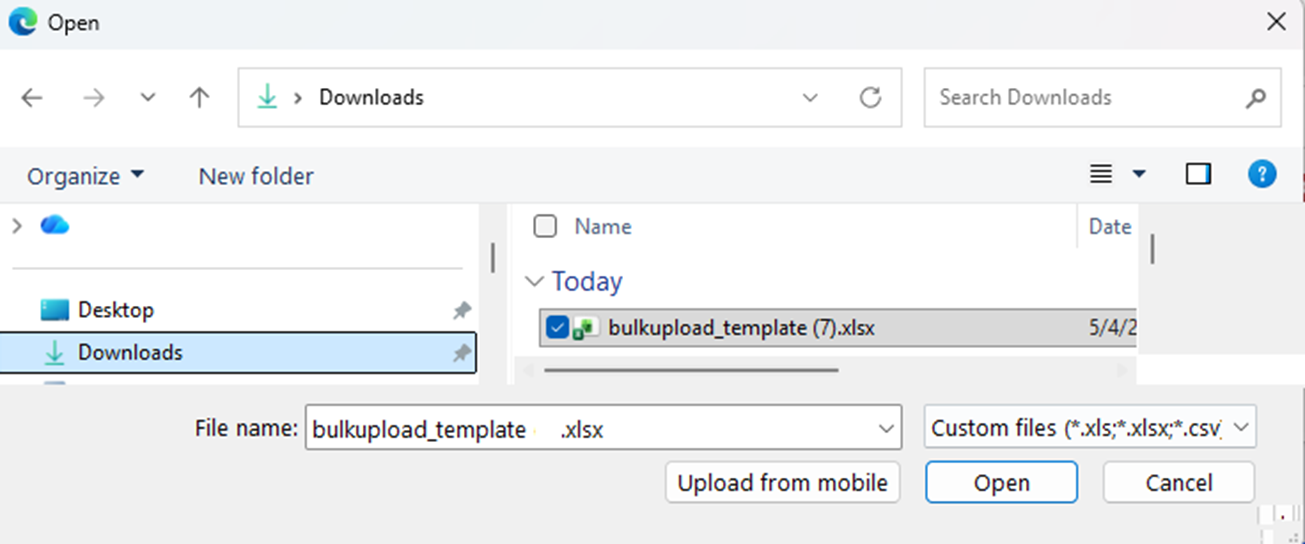
- Click Open and save the file to your computer. (Do not use Upload from mobile
Step 2: Populate the template
The user must open the template and fill out the fields. These are the same fields as in single card creation.

PLEASE NOTE: Do NOT delete lines 1 and 2 from the spreadsheet.
The provisioner specifies the card details. Below are all the available fields:
Card Valid from: (Required) This field is the date the card can begin being used. The default tis the current date. We plan to offer future provisioning at a later time.
Card Valid to: (Required)This field is the date that the card is valid until. A date up to 365 days from the ‘Valid from date’ can be set. The card will expire at the end of this day at midnight Eastern time.
Card Limit: (Required)This field is the monetary limit of the card. If this amount exceeds approval threshold, the card will require approval before being created. This limit value is unique to each client’s organization.
Field 1: (Required) This field is a general notes field for miscellaneous information, such as title of the card
Field 2: (Optional) This field is a general notes field.
Notes: (Optional)This field is a general notes field.
First Name: (Required) This field is the cardholder’s first name.
Last Name: (Required) This field is the cardholder’s last name.
Employee ID: (Required for Concur) This field enables a link between the system and Concur. If the customer is synced with Concur Pro, then the provisioner must enter the card user’s Employee ID in Concur. If the client does not use Concur Pro, then they can use this field for any other information they desire.
Email ID: (Required) This field is the email address the card will be created for and sent to.
Mobile Number: (Required) This field is the phone number of the cardholder. No functionality is tied to phone numbers at this time. No calling or text messaging will take place.
Step 3: Upload the sheet
Once the sheet has been populated, save it on your computer.
Next, either click Browse File to select the file to upload, or drag the file and drop it onto the location on the screen.
Please Note: The file must be in an Excel (xlsx) or CSV format.
The file name now appears on the screen.
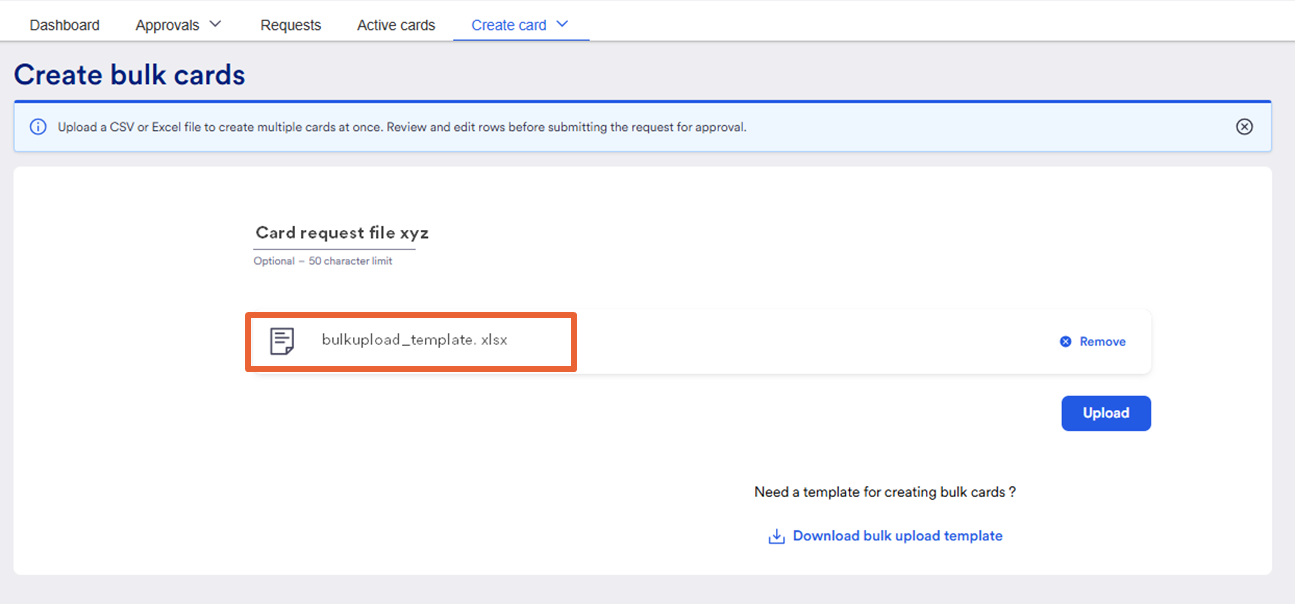
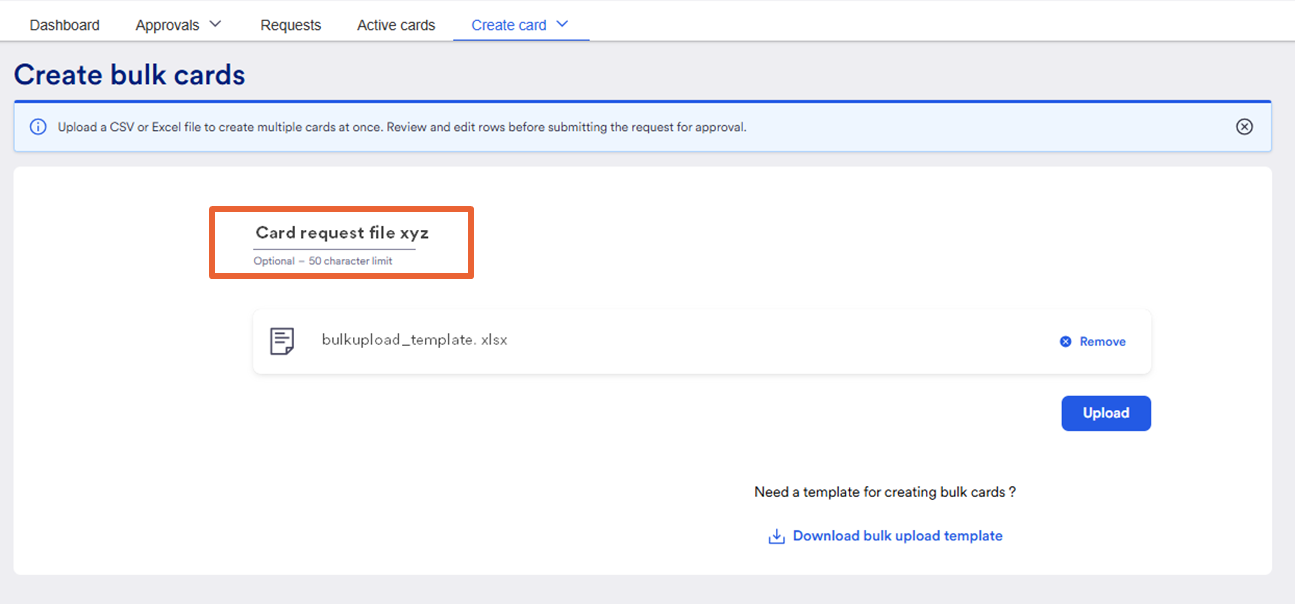
Once the file is loaded to this screen,
- Enter a title for this bulk request
- Click Upload
Step 4: Reviewing information
Once the sheet has been uploaded the user will have an opportunity to review the details of the cards they want to create.
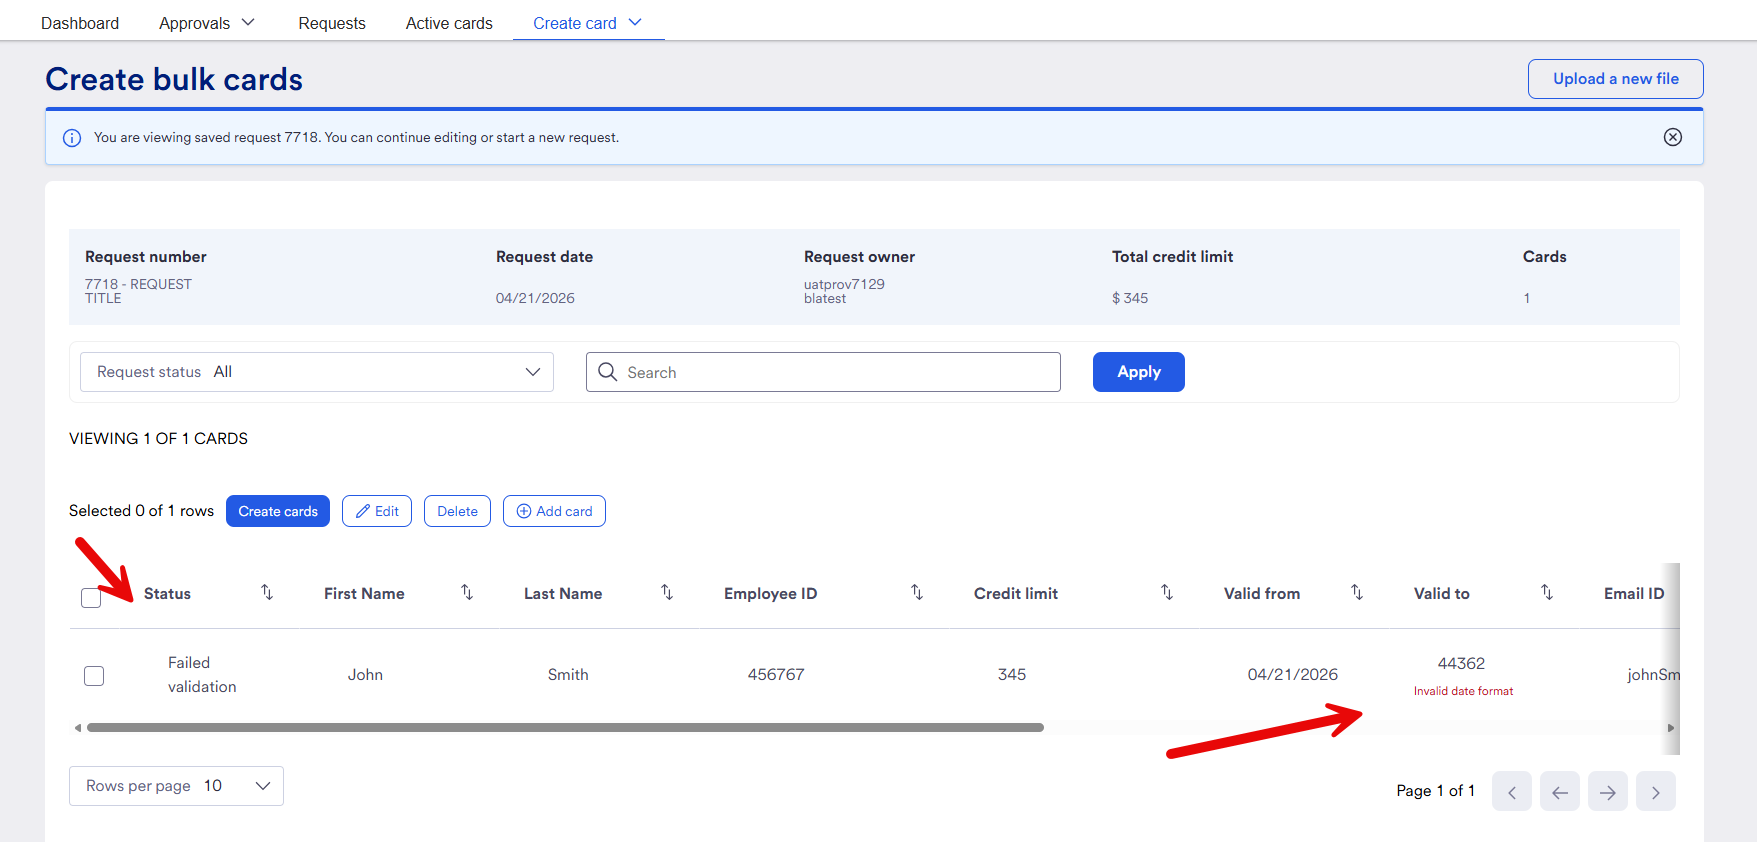
These cards will have a status based on the information provided
Failed Validation:
The system will check the uploaded file to ensure information entered is permissible. For example, is there an actual email address in the email field or is the Valid To date within 365 days.
Items that have failed validation will have a status of Failed Validation. The field that has failed validation will have a red message present, indicating what needs to be fixed. Users can use the available tools to correct the info.
Validation Passed:
For all records that have passed validation the status will reflect this, and the cards can be created.
Available Tools:
The following tools are available to modify and support the uploaded information accordingly. Note: these functions will not work if the line item has already been created or sent for approval.
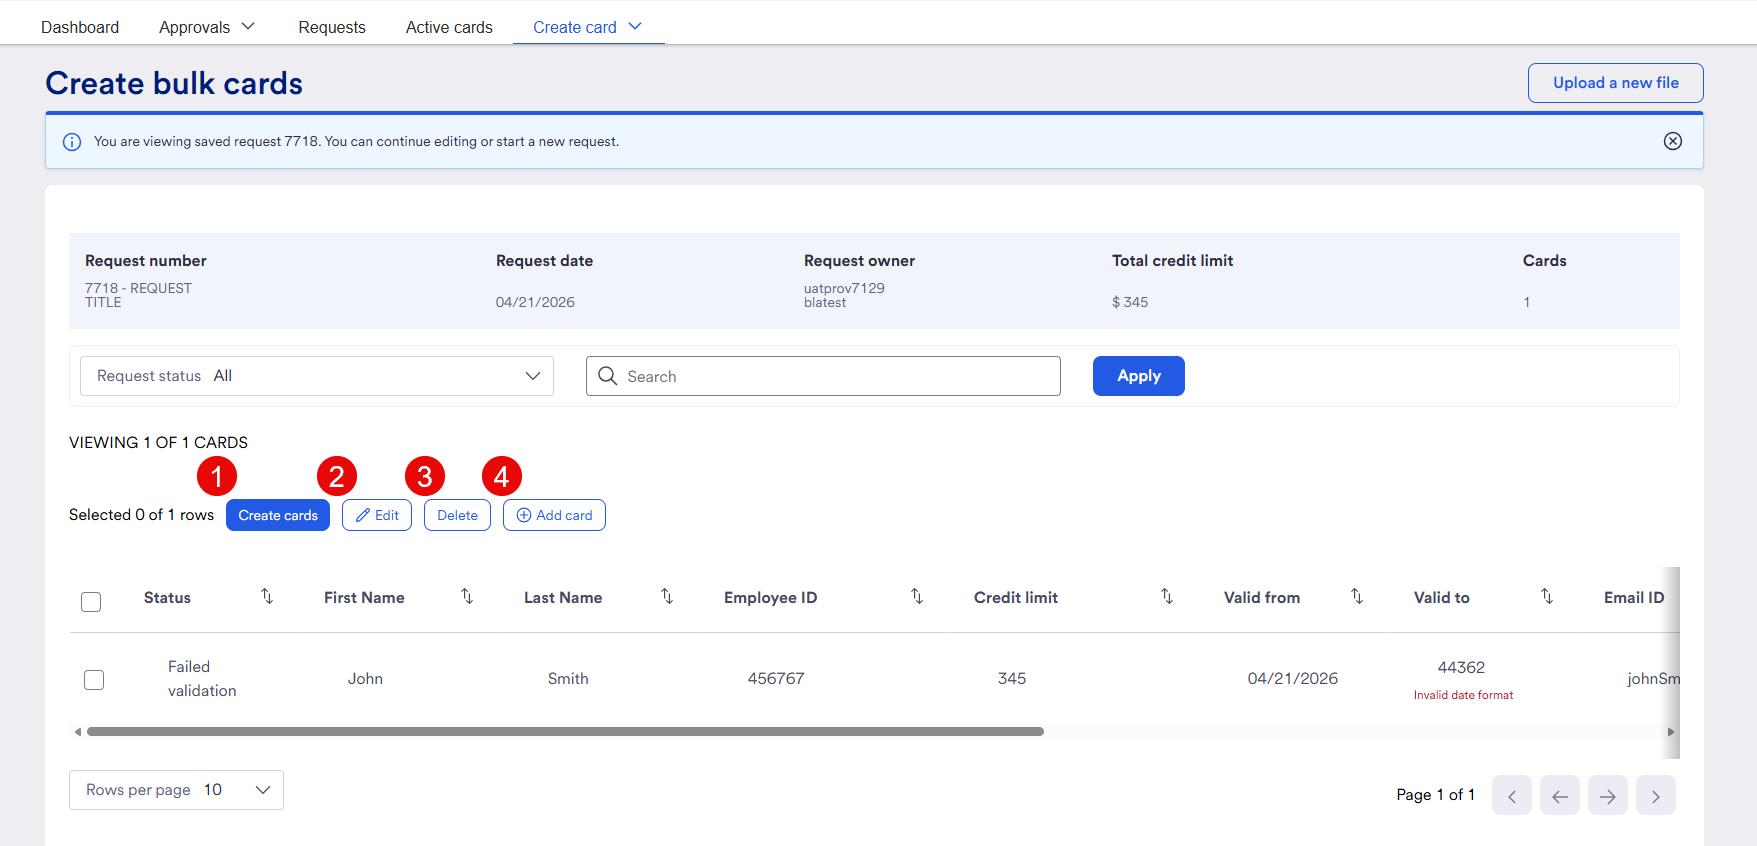
- Create cards – When a user is ready to create a card, mark its checkbox and click create cards
If the approval functionality is turned on, this button will change to “Send for approval” if it exceeds the company’s thresholds.
2. Edit – Allows a user to adjust any information about the line item prior to card creation
3. Delete – This action will delete the selected row
4. Add Card – this action will allow a user to add one card to the table.
FAQ
Why am I getting an error when creating cards? Cards failing creation can happen for a number of reasons. Refer to the Q&A for Single card creation.
Active Cards Screens
The active card screen is a place to see active cards that are currently assigned to users. At this time past cards that are no longer cannot be seen in the app; this will be a future enhancement. To review past account information, you will need to run a report in Access Online.
On this screen the user can see basic details about the cards.
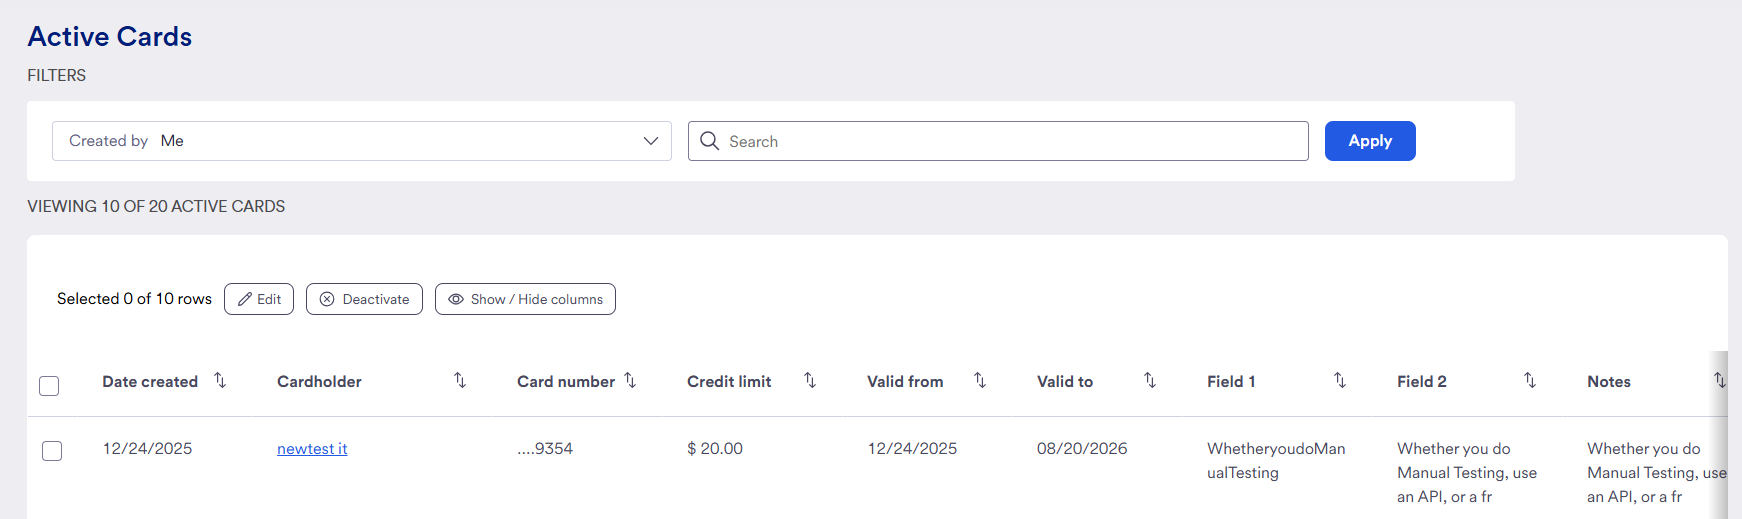
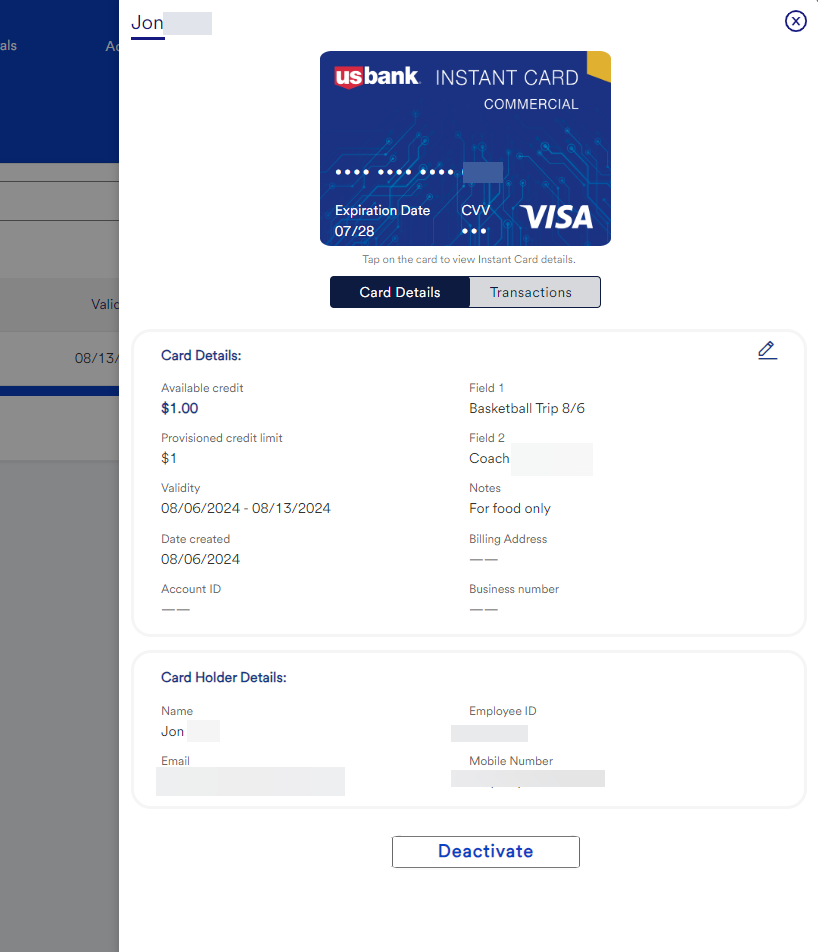
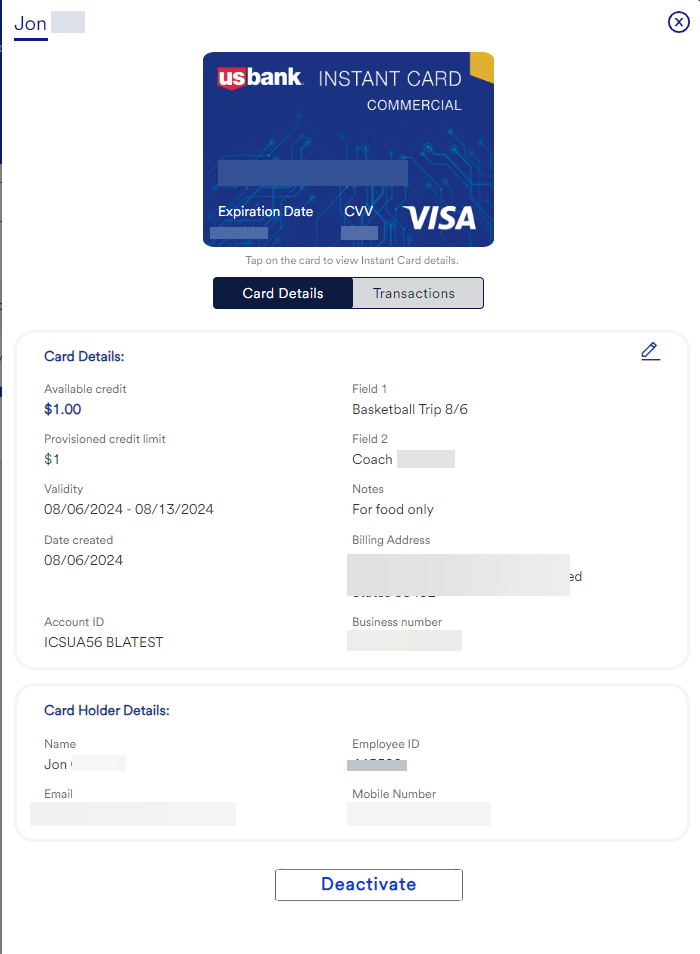
By clicking on the cardholder’s name, the provisioner can see additional card details.
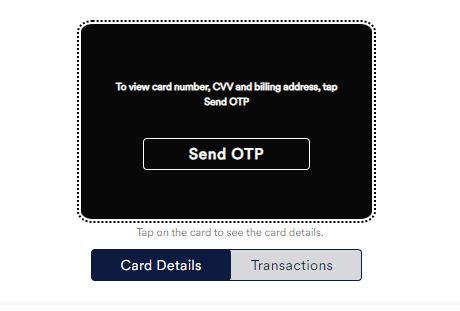
If the user clicks on the image of the card, they can request a one-time password (OTP) sent to their email, which will then unlock the full card information.
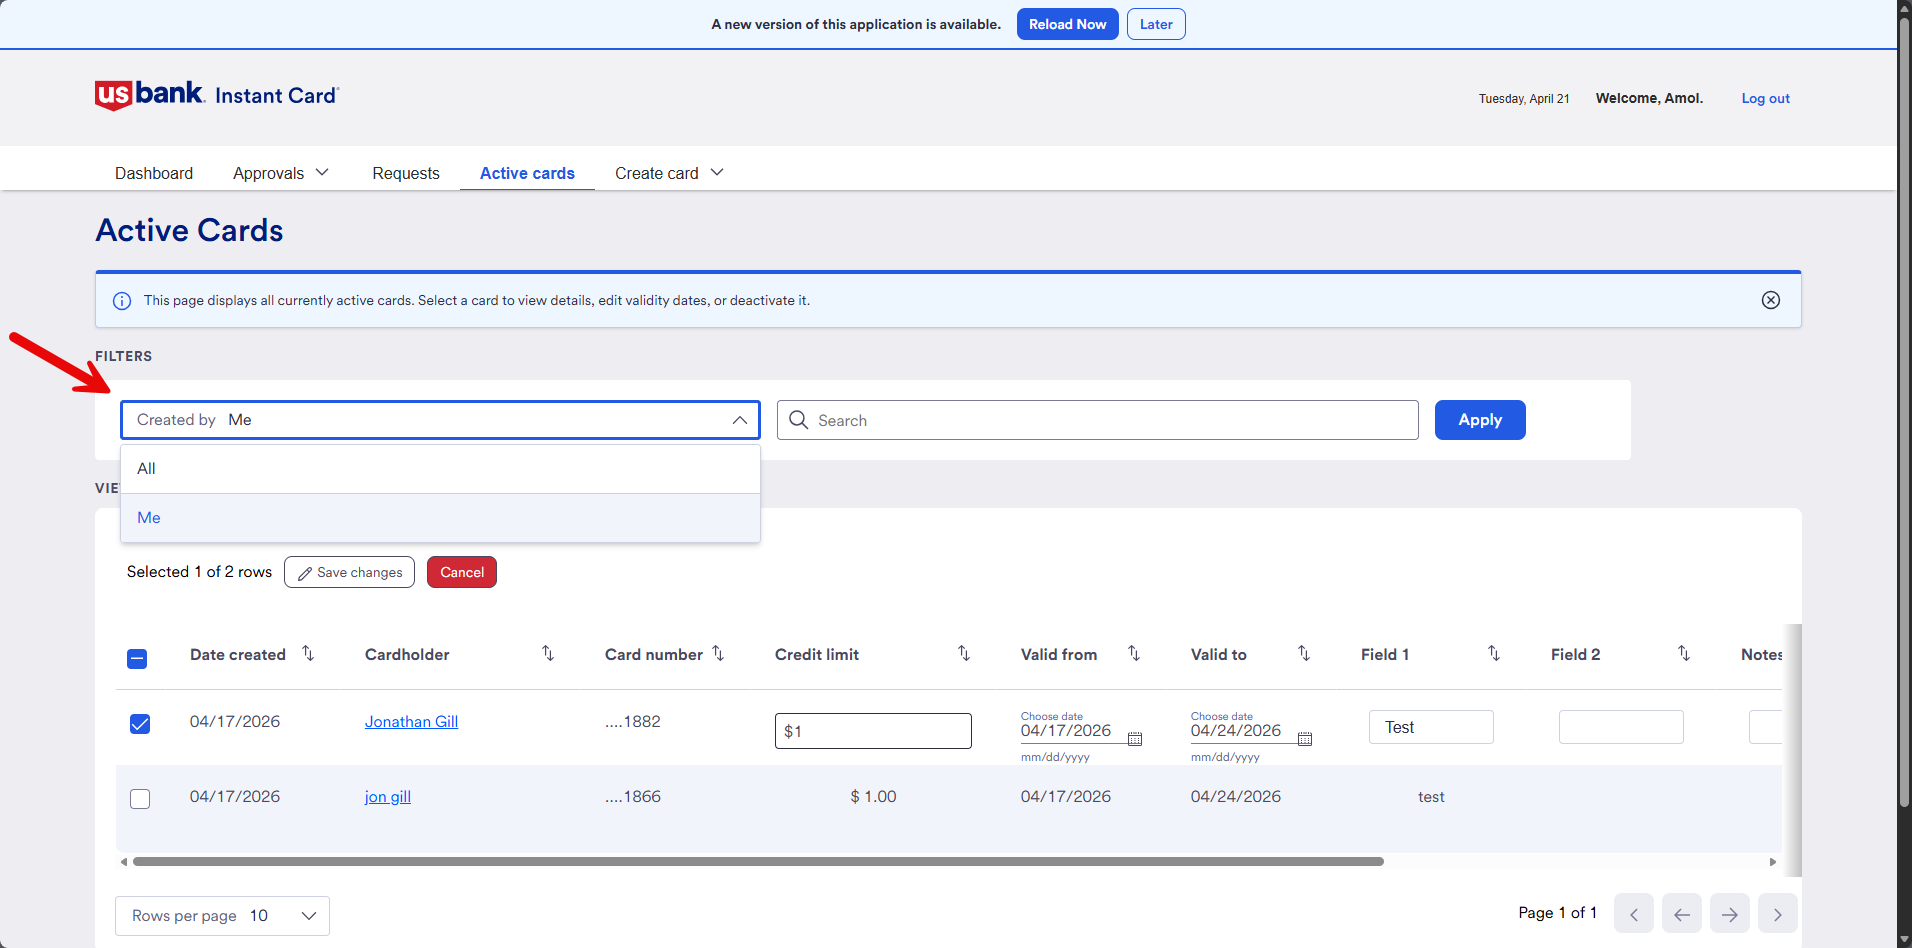
All Active Cards
The All Active Cards option allows a provisioner to see all cards created across their program from all provisioners.
It is recommended that all provisioners have this view in order to appropriately support their business. To ensure a user has this view, check their profile on the administrator site.
All active cards can be viewed by changing the filter:
My Requests
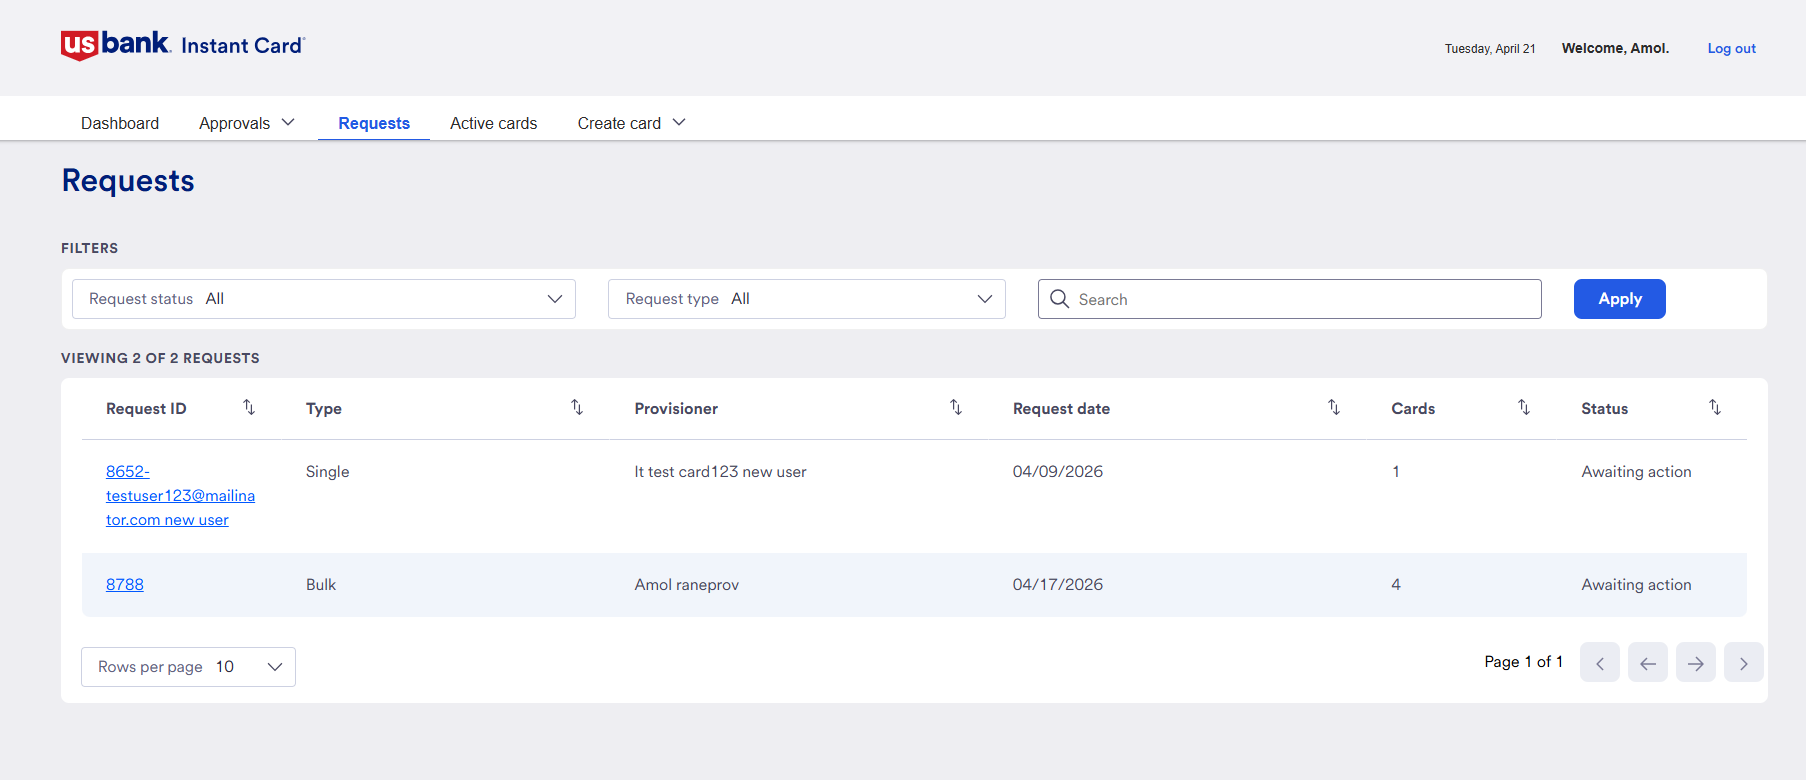
The My Requests page is where a provisioner can go to find unfinished bulk card creation requests, as well as cards requested from Card Users.